Stitch People portraits make great gifts. They especially make great gifts for big, family and life events like weddings, marriages and anniversaries. But what do you do when the anniversary you’re commemorating with your portrait is Grandma and Grandpa’s 50th wedding anniversary, and their four or five children all have four or five children of their own!?
Allow me to present, the “Brady Bunch” style portrait.
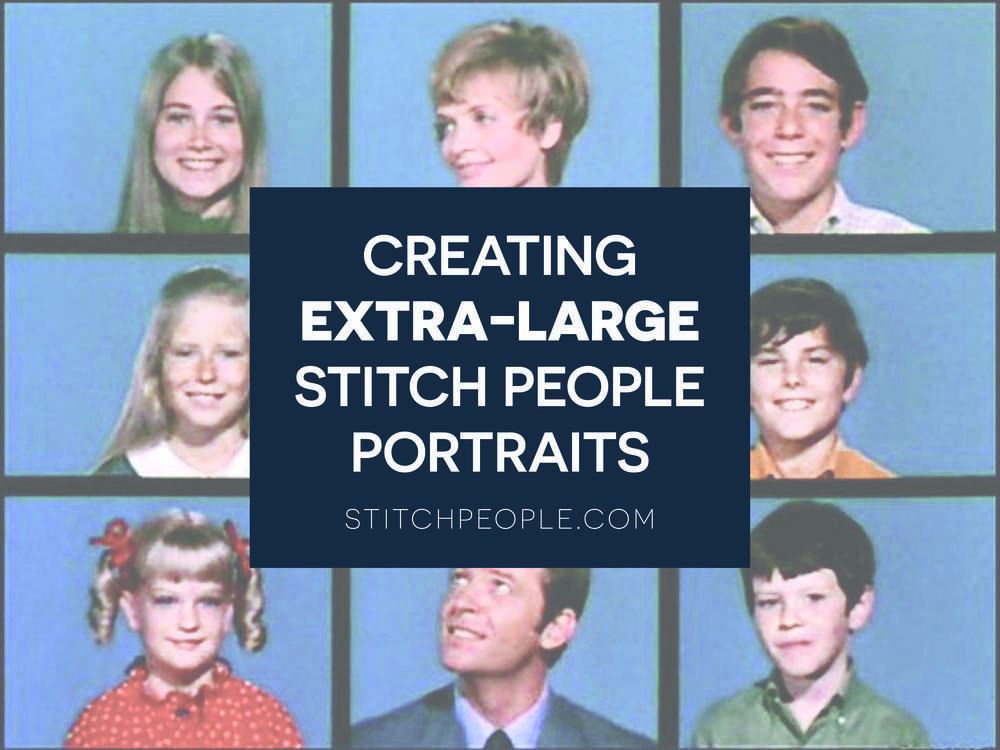
Most of us are familiar with the TV show, “The Brady Bunch,” in which the opening song and sequence ends in a sweet celebrity-jeopardy-style grid of individual family members all smiling at one another. If you haven’t seen it, it’s worth a watch – search for “Brady Bunch Opener” or something to that effect on YouTube.
Using this idea, you can create bust-style designs of each character in your portrait, and situate them in an “invisible grid” if you will. This way, everyone can be included in the portrait, but it won’t be an unmanageable long, narrow size.
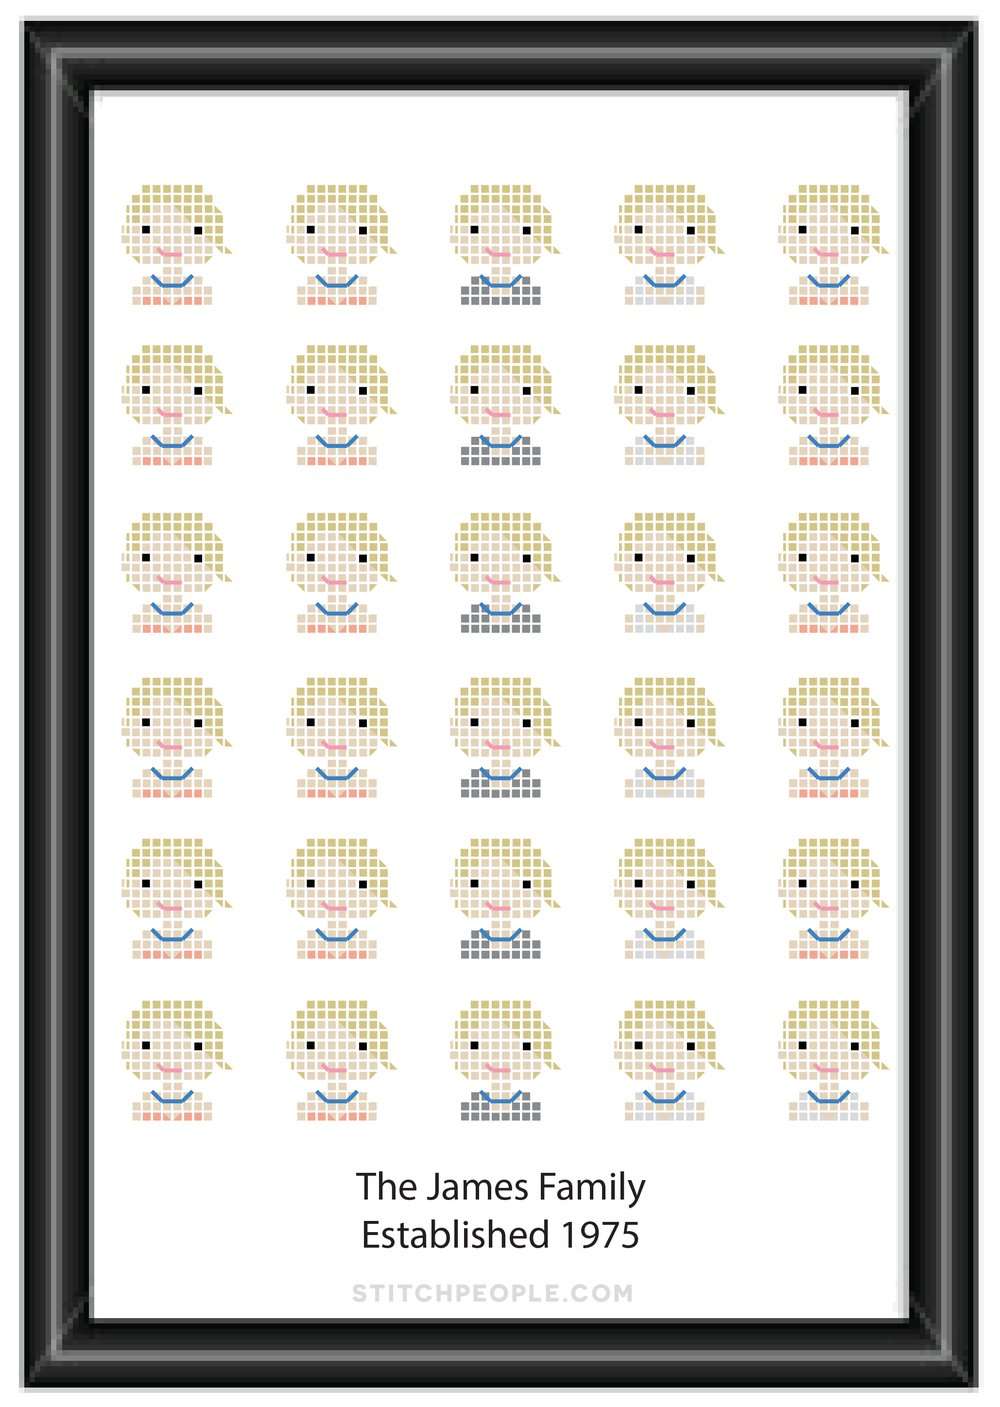
In the example, here, I simply copied and pasted the same bust, and roughly situated them within a frame. However, it illustrates the point – you can easily include all of your family members in a manageable way! There are 30 characters in this example, and the possibilities are endless.
You could center Grandma and Grandpa above the family name at the bottom of the portrait (or place them at the top with the family name) and space everyone out evenly above or below them. You could even include little cat or dog “busts”!
Be sure, however, to account for the different widths that you will encounter in the busts of each character. A young child will likely only be 9 squares wide, while a curly-haired adult could be 12 or 14 squares wide. I suggest giving the same dimensions of space to each character, regardless of if they actually need that much space. For example, if each character is centered in 14 squares of width, the curly-haired character will sit centered, as will the young child, and they will still line up in the grid style with any characters above or below them.
This style of portrait will require a little bit of counting and perhaps some math – but once you can sketch out that grid on the back of your Aida fabric and get stitching, the results are sure to be stunning!!
Check out an example of the “brady bunch style portrait” stitched onto a pillow, done by Jessie Randall, creative director behind Loeffler Randall. The photo is in this blog post at Cup of Jo.
Have you ever created an extra-large family portrait? Send us some pictures or let us know about it in the comments!

Have a wonderful day!
Hi Lizzy! Love this! I found you through Cup of Jo and I just ordered your kit. Do you have any information about how to turn the family portrait into a pillow? Thanks!
Last year I created a cross stitch portrait of my son’s preschool class — 21 people! — and donated it to the school auction. It was a HUGE hit.
What a fun idea! I’m sure all the little kids in a group looked darling!