Cross-stitching! One of the most beloved and oldest forms of needlepoint and as popular now as ever. It’s also easy as pie, well…easier since pie making is more complicated than it looks!
As fun and easy as it is to create a masterpiece by cross-stitching, there’s more to it than tiny little x’s. Today we’ll talk about the 3 stitches that are essential to know if you want to get the best out of your Stitch People or any cross-stitch pattern.
1. Cross-Stitch
I know…duh, right? Obviously you need to know what a cross-stitch is in order to cross-stitch. Basically you are making tiny x’s over the weave of your fabric.
Aida fabric makes this easy for you. With it’s grid like weave, each tiny square in the fabric is an area your tiny x can cover.
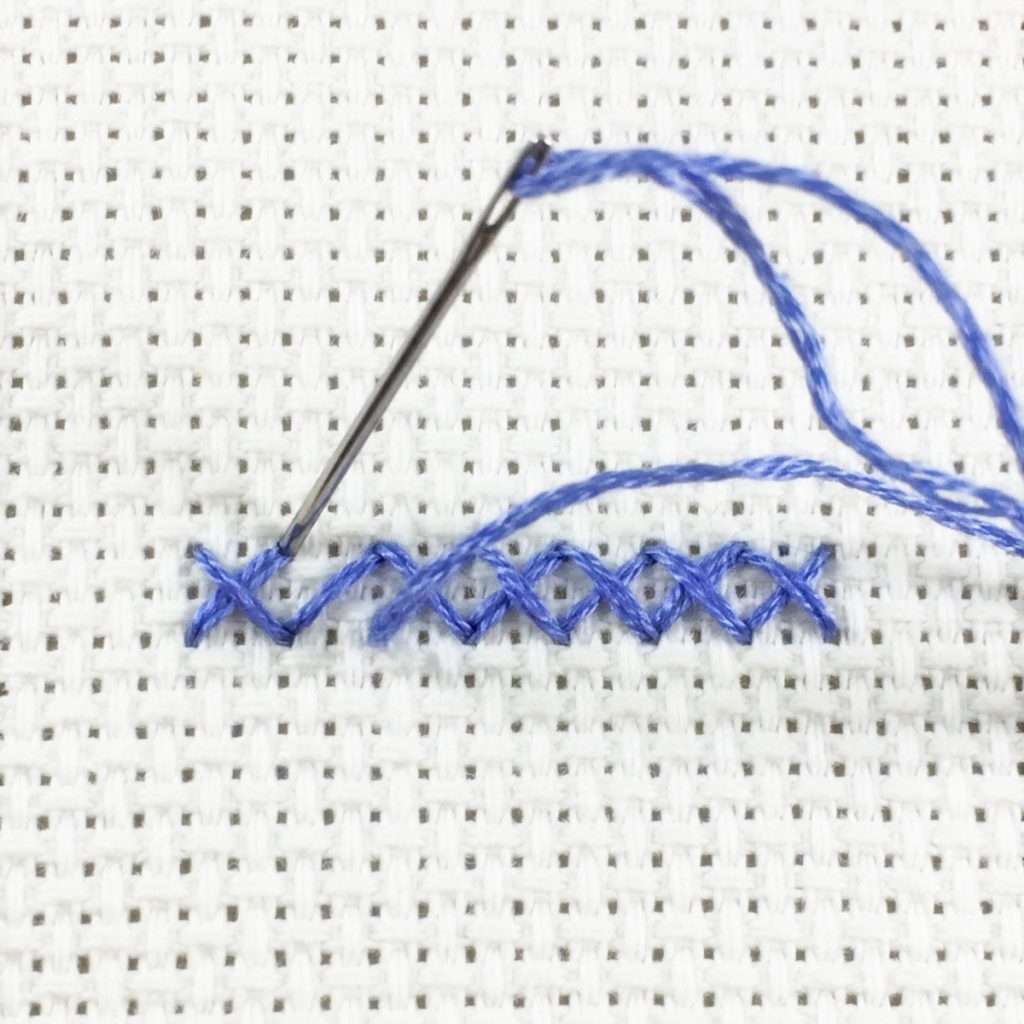
The 2 basic methods of cross-stitching are the English and the Continental method. The English method is to make a full cross each time you cross-stitch and the Continental method is to make a full row of diagonal stitches in one direction and then go over the row with diagonal stitches in the other direction. Neither way is best, it just depends on how you like to work.
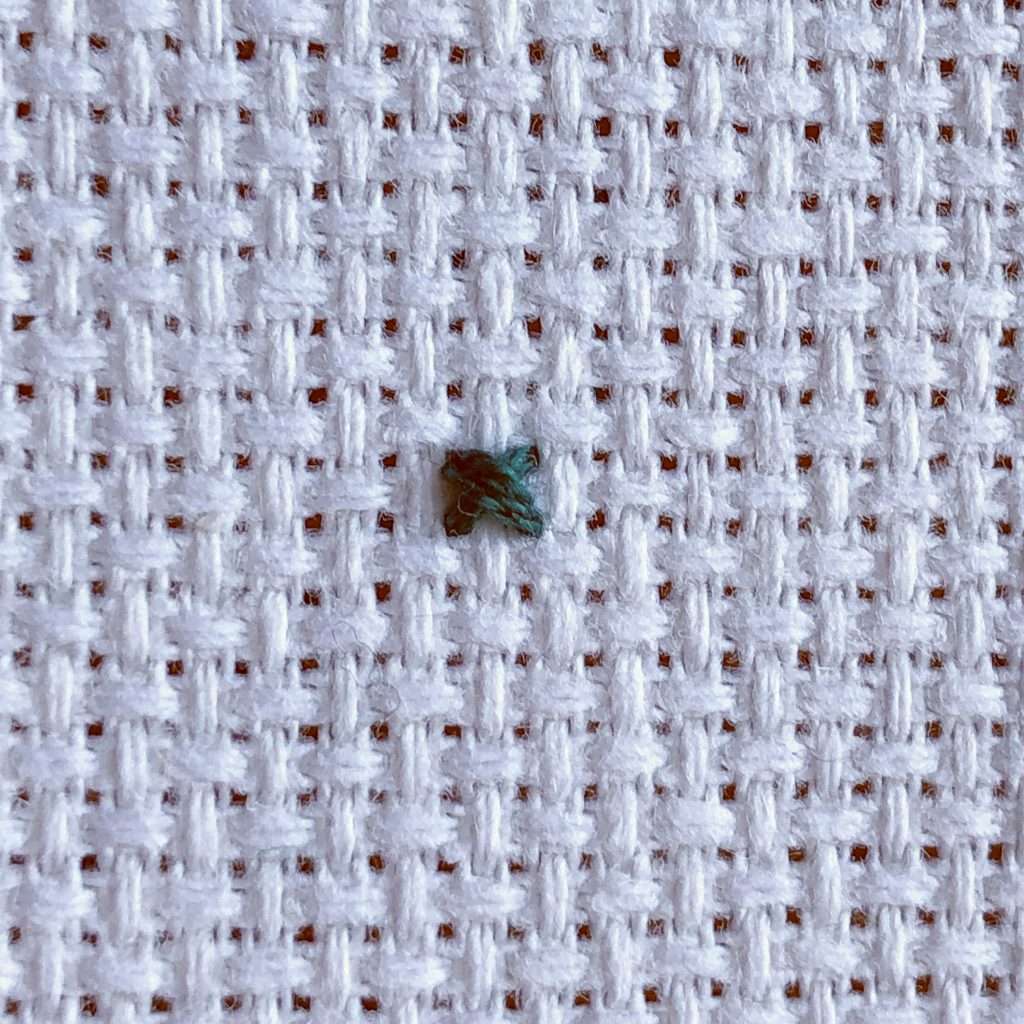
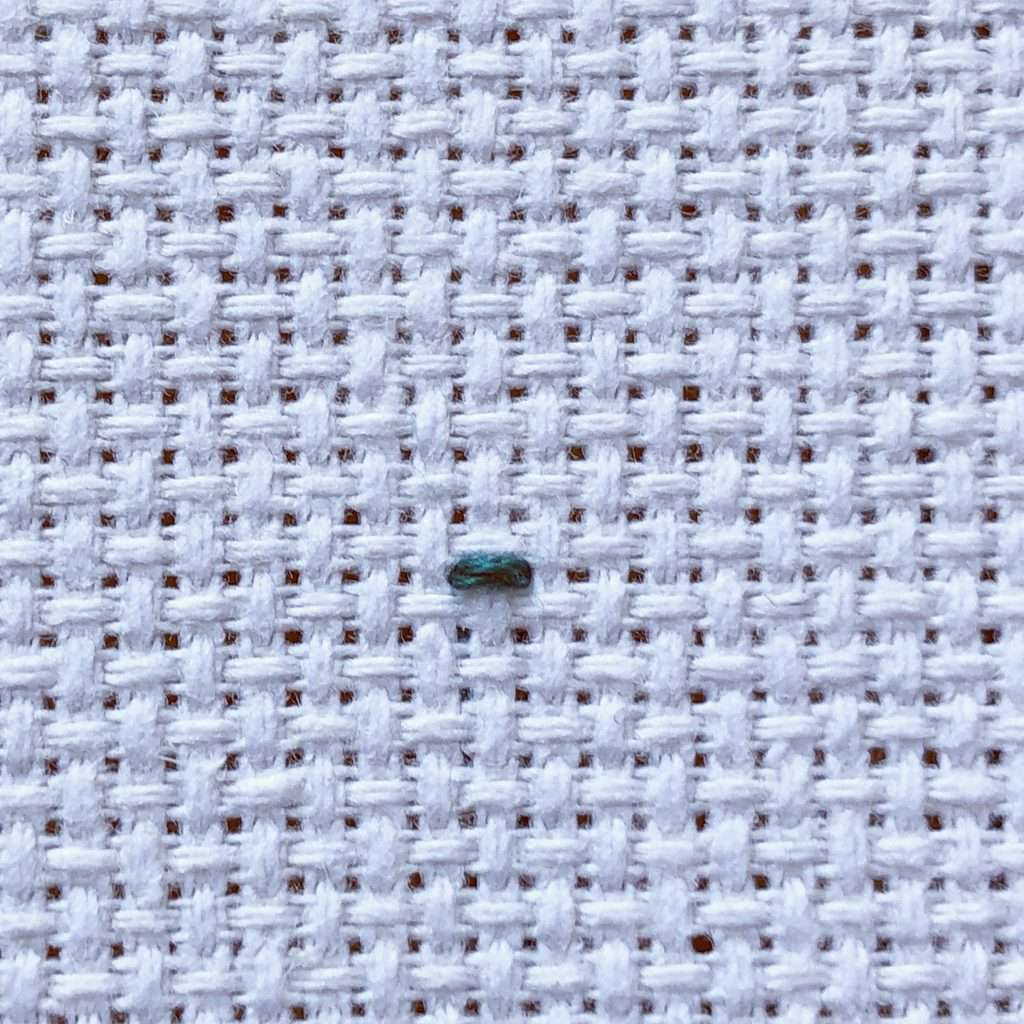
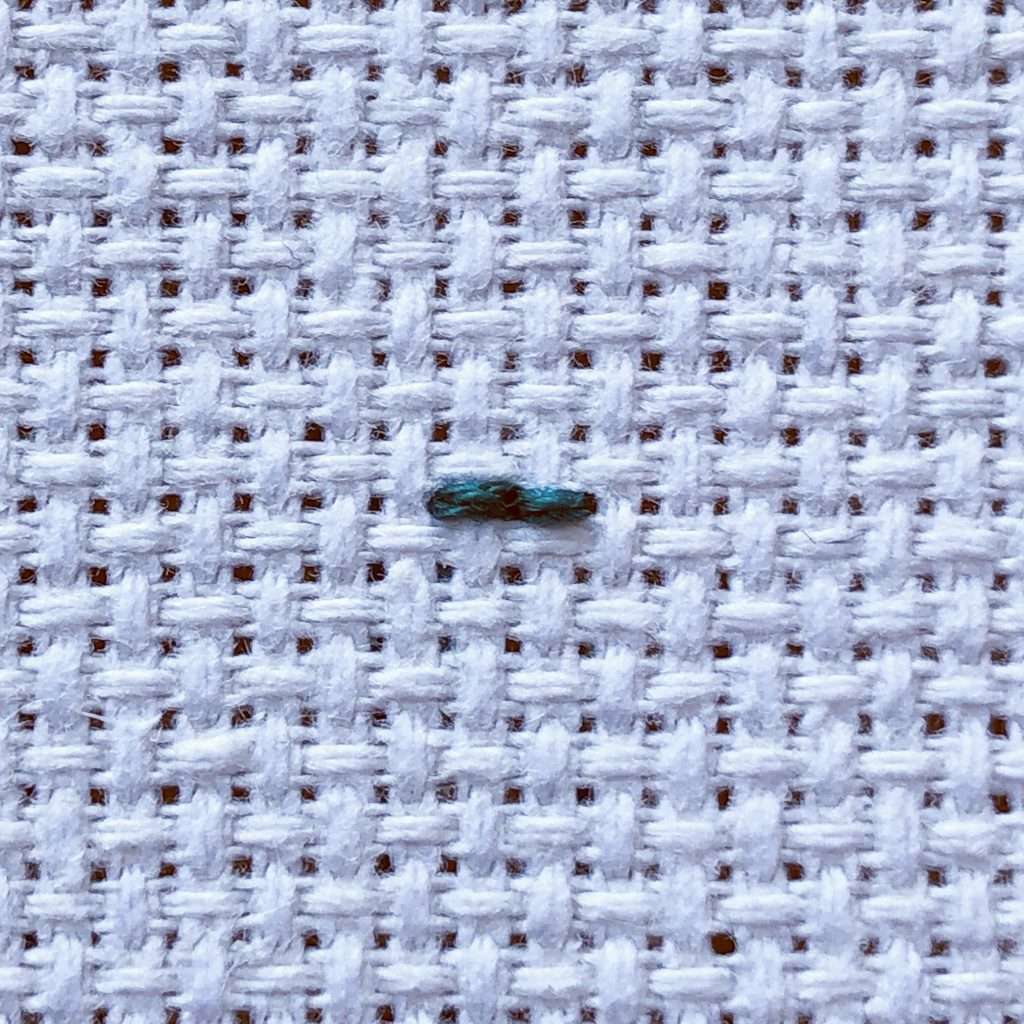
2. Half-Stitch
Now, you may be less familiar with a half-stitch even though you make them every time you cross-stitch. A half-stitch is exactly what it says it is; half a cross-stitch.

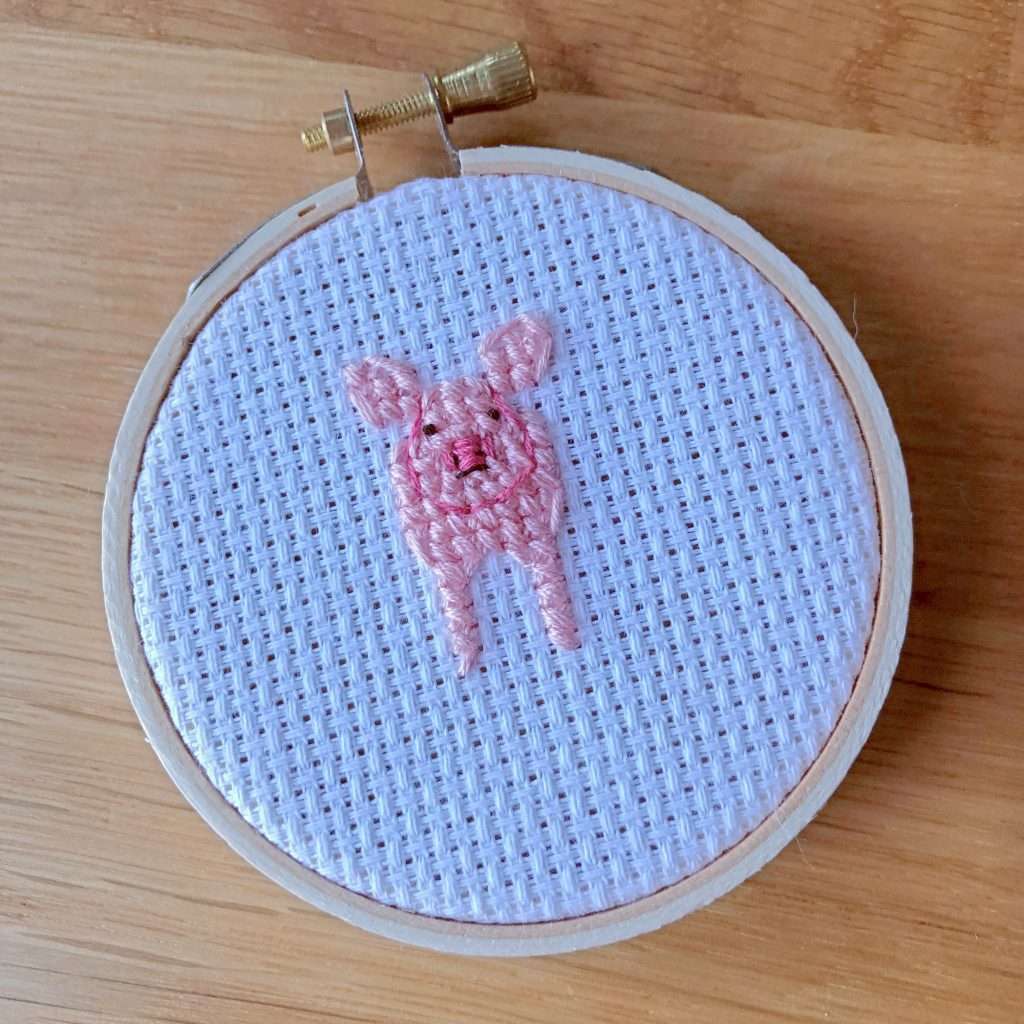
You could in theory make up your entire cross-stitch pattern using cross-stitches but there will be times, especially if you are working up a Stitch People portrait that an entire x will be too much. For example, if you want a rounded edge, an entire x is going to make the edge look stepped. Better to use just a half-stitch along the edge to smooth it out.
Half-stitches can be manipulated in a few different ways depending on the look you want. If you’d like to dive in deeper and learn how half-stitches can be used in your cross-stitching, check out this tutorial by Lizzy.
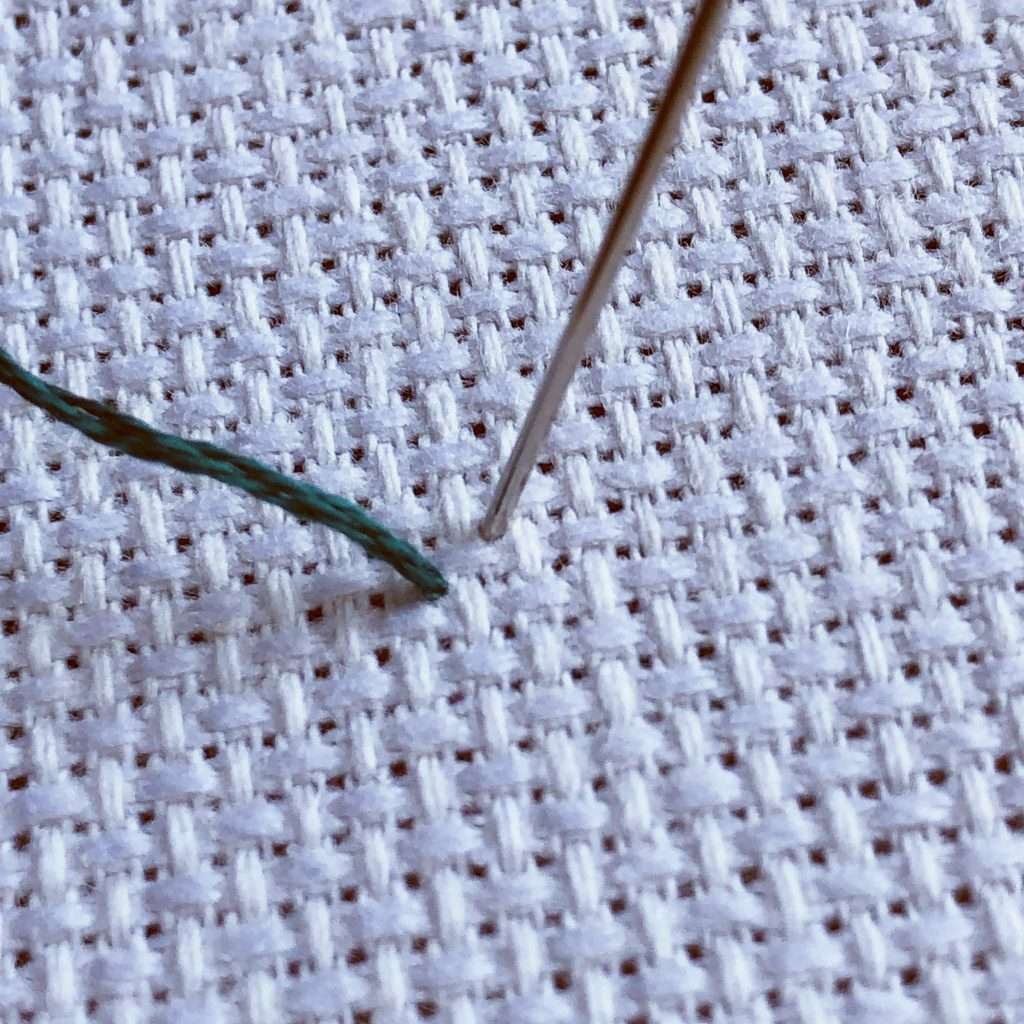
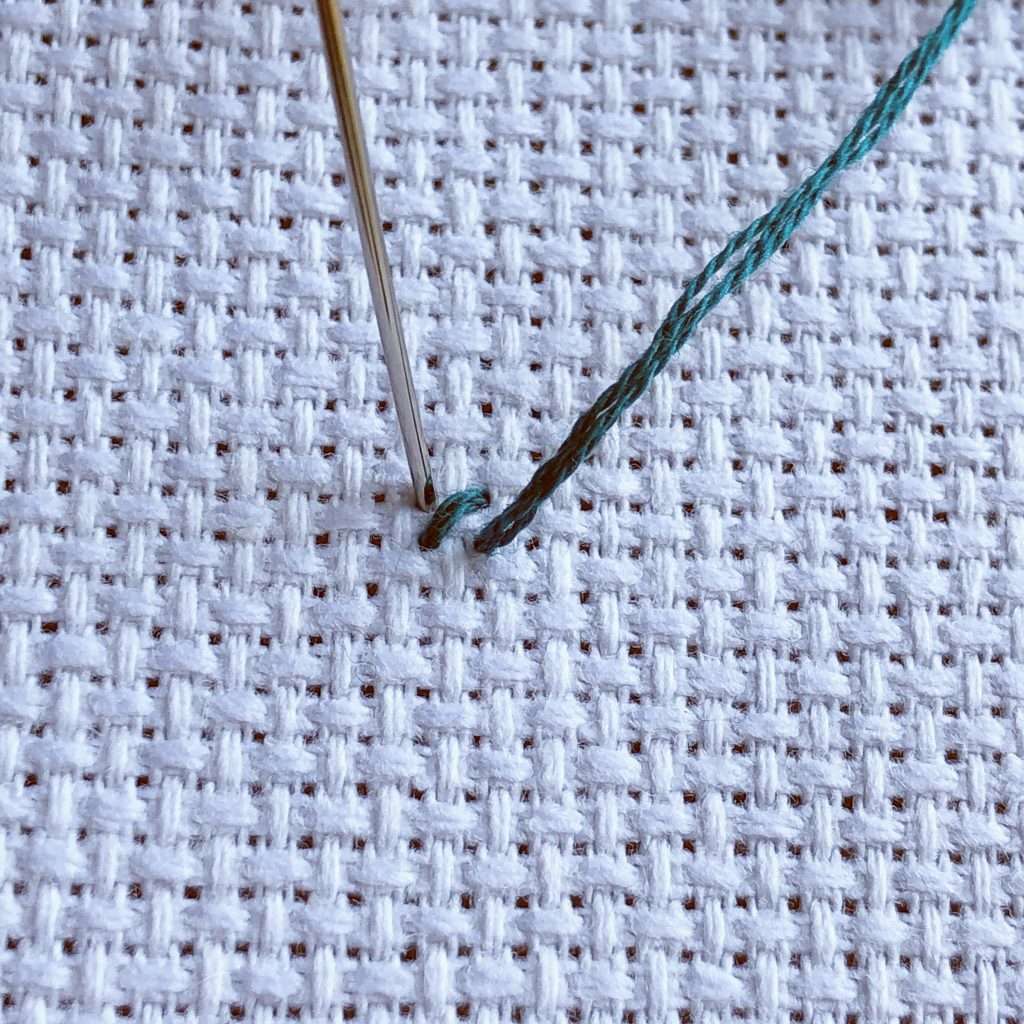
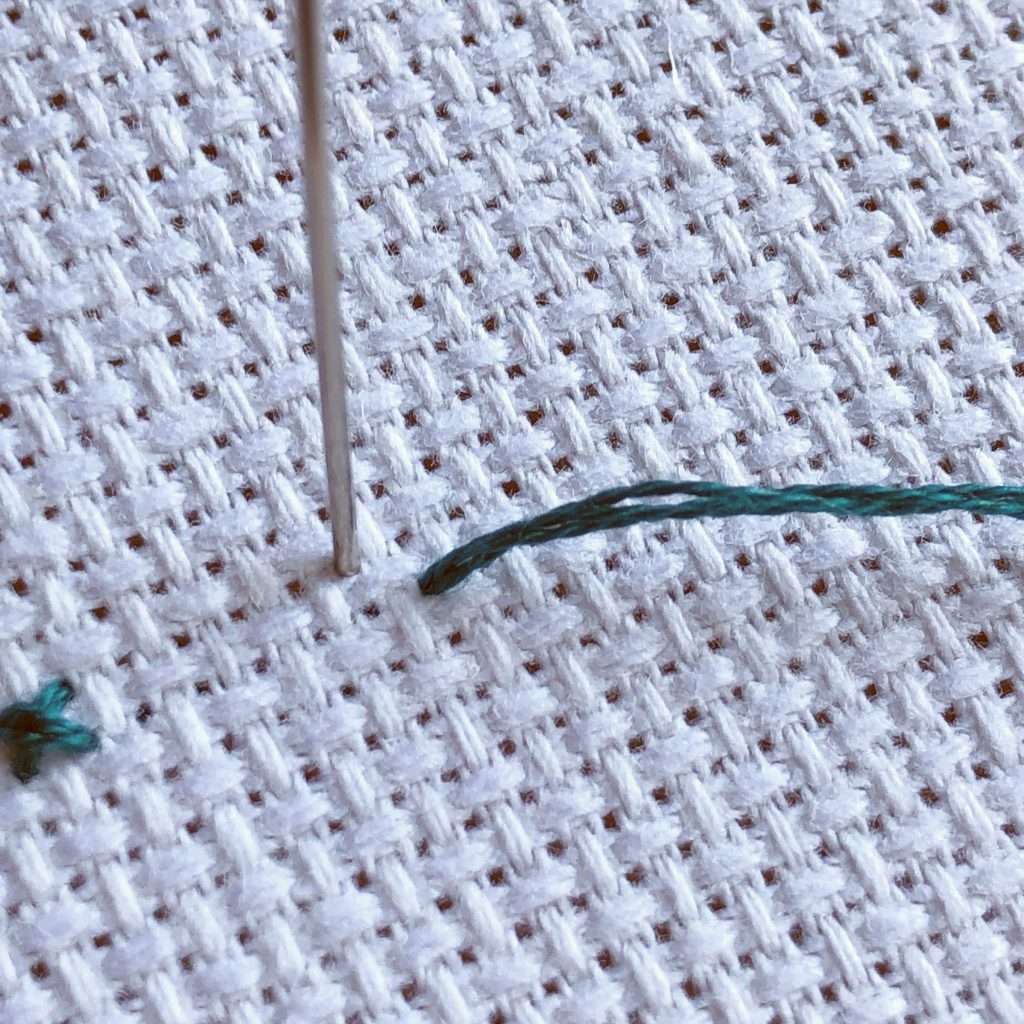
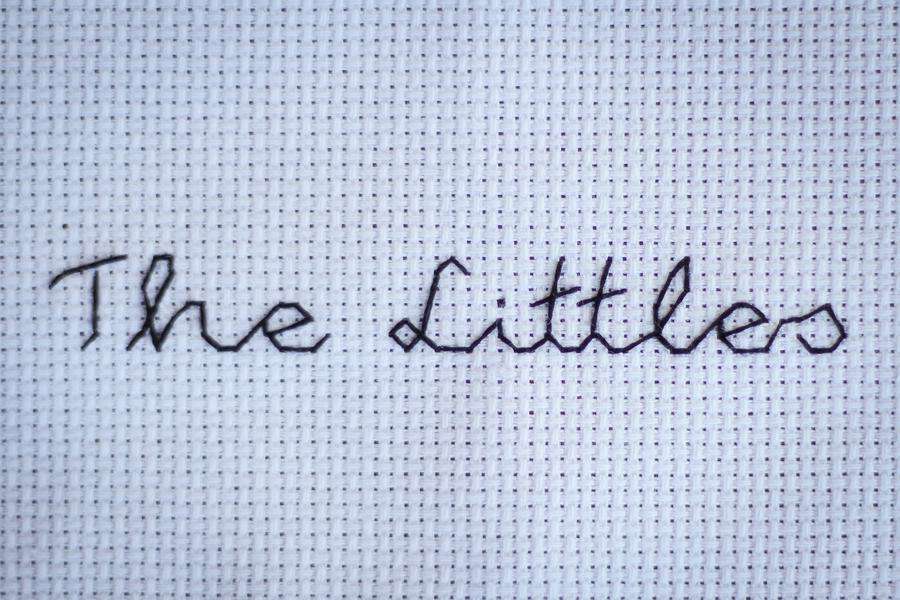
3. Back-Stitch
The back-Stitch is a staple across all embroidery disciplines and for good reason! It is the go to stitch for creating long lines and outlines. Great for adding definition or where you just don’t want the full bar effect that a row of cross-stitches might give you.
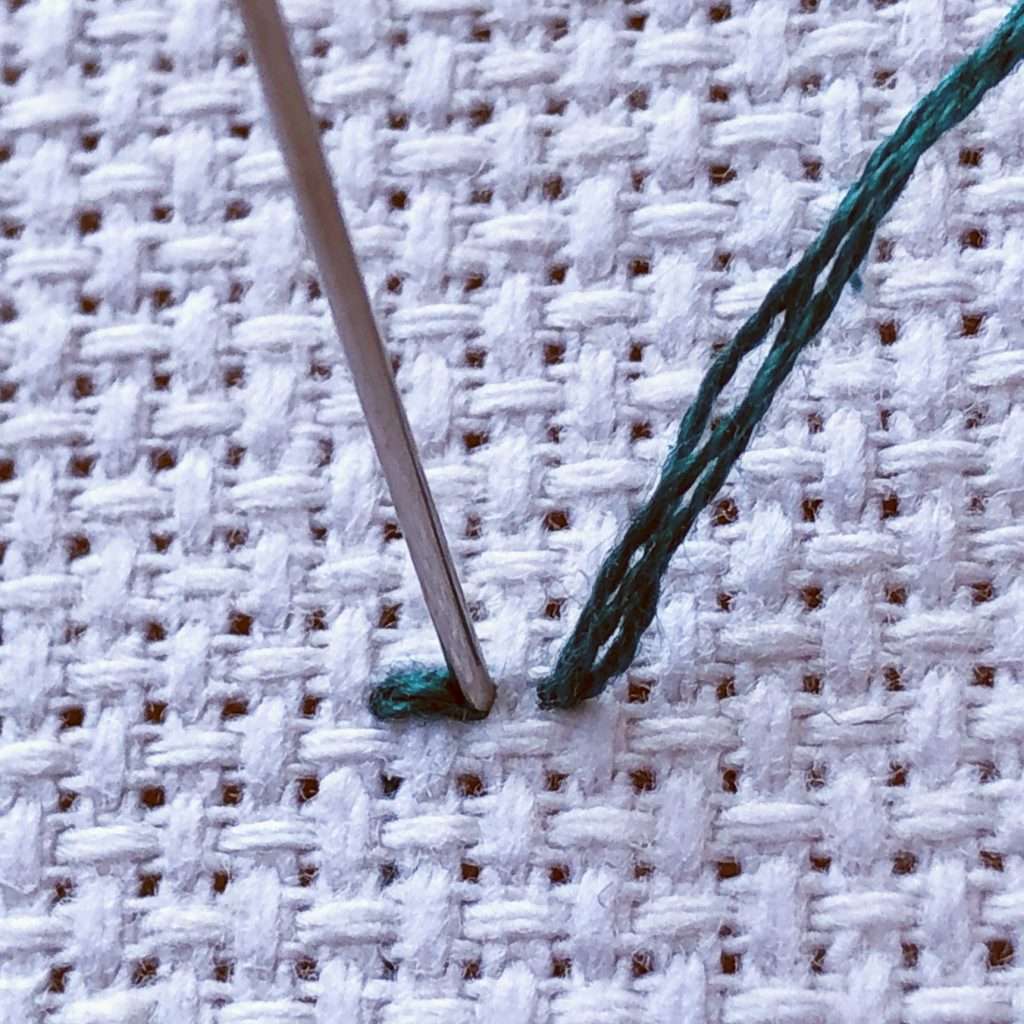
You can work horizontally, vertically or wibbly-wobbly with a back-stitch and create as many as you need to make your line long enough for your needs. All it requires is bringing your needle up a stitch length away from your last stitch and then plunging the needle and thread through the same hole as the end of your last stitch.
Practice these 3 stitches and you’ll be able to tackle any cross-stitch pattern that takes your fancy.
Head to the Stitch People website to find tons of simple and fun patterns to practice with!
If you want to up your game even more, stay tuned to this blog! Next time we’ll be talking about 3 non-essential but totally cool stitches to know which will add even more fun to your patterns.
Loved the video. Those stitches were driving me crazy. Helps alot, thank you.
Hi Lizzy!
I learned to finish the half stitch in the center of the square, creating like a Y instead of a “slash” as you showed us…have you ever tried before?
Love your posts!
Thanks for sharing your knowledge!