You know the one thing about Stitch People is that it’s so cute that you want to take it everywhere! I don’t know about you but I feel like walking around with a cross stitch portrait might seem a little odd. Well color us happy when we saw Jill English had found a solution to our problem with a Stitch People Phone Case!!
Jill kindly accepted our request to show us and you how she did it!
Read on to find out a little more about Jill and her amazing phone case tutorial!

I’m a full time hairdresser and mommy of two. I don’t have a whole lot of free time between work and kids, but when I find the time, it’s spent stitching! I’ve had a love for it from a young age. My mom also cross stitches and is amazing on the sewing machine. Though I never really picked up the sewing skills, she’s taught me everything I know about stitching! It’s my happy place!
I was so excited when I found the Stitch People pattern book. I was itching to get back into cross stitching, I just hadn’t found an outlet I was interested in, until now. I had no intention of turning it into a small business. I simply just wanted to stitch again and absolutely fell in love with Stitch People! Once I posted my family’s portrait, I received such a great response, that I ended up with an endless list of orders! With a lot of encouragement from my boyfriend, I decided to take it on. I just love creating every little detail of someone’s family in hopes it will become a timeless keepsake for them.
All of my past and current projects are posted on my Instagram page @jillenglish_stitching. Please take a look and tell me what you think!
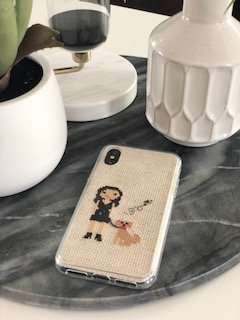
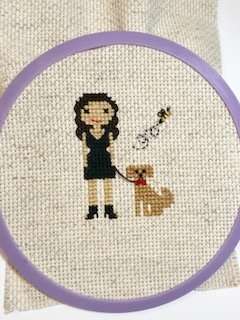
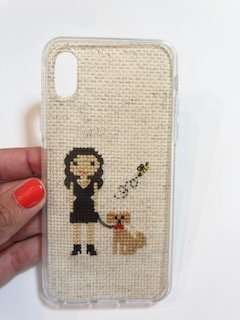
I came up with this cute little spin for my stitch people portraits so that I could carry it with me everywhere I go! I did some research and found that they do make iPhone cases that you can stitch directly onto. I thought that was a really neat idea except I didn’t want my hard work to become dirty or tattered from being exposed all of the time. So I thought, “why don’t I just stitch something up on my Aida fabric, then put it behind a clear case”?! That way it is always protected and I can still personalize it exactly the way I want! This one, I stitched up for my sister, of her and her sweet pup.
What you will need:
Embroidery floss
Aida fabric size 14 (I used color: Oatmeal)
Embroidery hoop
Size 5 embroidery needle
Stitch people pattern of choice
Fusible backing (and iron)
Scissors
Ruler/ tape measure
Clear phone case to fit the phone of your recipient
Exacto knife
Mod Podge
Instructions:
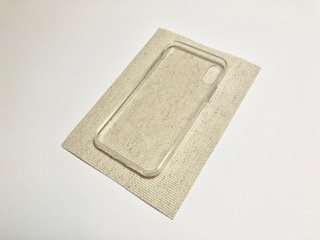
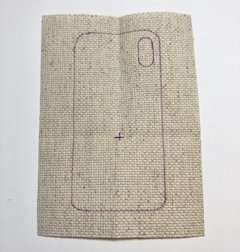
First you will need to measure your phone case’s length and width. Add one inch of length to each measurement and cut your Aida to this size.
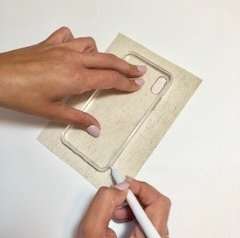
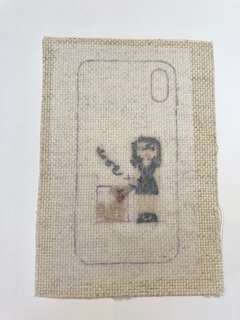
Next, center the back of your phone case onto the fabric and trace.
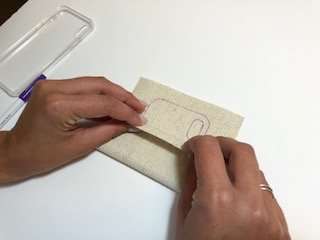
Once you’ve traced your case, you will need to find the center of your outline. I wanted my stitch portrait to be centered just below the camera opening and the bottom of my tracing. I folded the fabric up so that the line from the bottom matched with the bottom of the camera opening to find the center of my length. I then counted across my width and found my center point and placed a cross in the direct center.
Now that you have your measurements, you can sketch out your stitch figures to match.
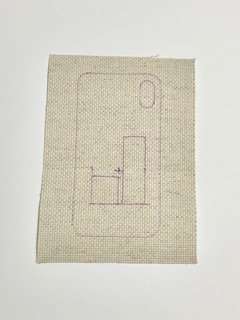

Two figures will easily fit. If you are stitching a larger family of 3 or more, you will need to stagger your figures.
The next step is to stitch your portrait! Make sure you are keeping the back of your stitching as tidy as possible to help limit any excessive bulkiness that may prevent your case from fitting snug onto your phone.
Once your stitching is complete you will then iron on your backing to keep everything in place.
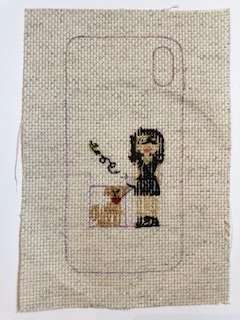
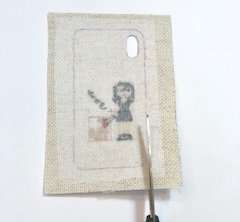
With your exacto knife, cut out the camera opening first. Then with scissors, cut around the outer tracing of your phone case.
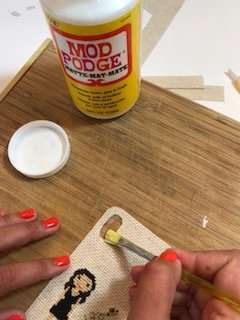
To prevent fraying of the cuts around the camera, I just dabbed on a bit of Mod Podge along the edges. Let dry.
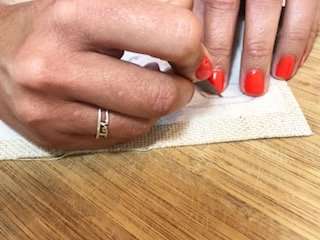
Place cutout into your phone case, snap it onto your phone, then, you’re done!!
AMAZING!! Thank you Jill!! If you’d like to see other tutorials and free patterns; please visit our blog and you can find more of Jills beautiful work at Instagram: jillenglish_stitching