Guest tutorial by Theresa Mayfield
With a lot of people traveling this time of year, it’s important to be able to pick your luggage out from the hoards of other suitcases and bags and it doesn’t hurt if that way is super cute! Well our friend Theresa who you may remember from this article found the perfect way to combine noticeable with adorable style! In this post, Theresa will teach you how to make your own Stitch People Luggage Tag!

Hi! My name is Theresa Mayfield and I’m the owner and stitcher behind Stitched to a T! While waiting for my bag at the airport one day, I started noticing other travelers’ luggage tags. Suddenly the idea for a Stitch People luggage tag popped into my head. When I got home, I made one for myself just to see if it would work, and now it’s the most popular item in my Etsy shop! Here’s how to make your own:
What you will need:
Stitch People pattern book
Embroidery hoop
14 ct Aida fabric
Needle
Embroidery floss
Fusible backing
Iron
Self stick mounting board
Scissors
Fray check
Luggage tag with a card holder slot (7.5x5cm)
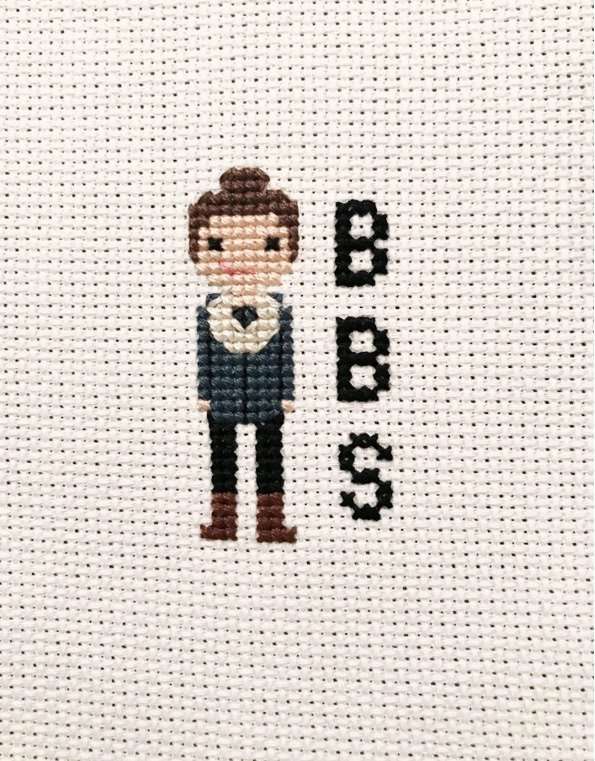
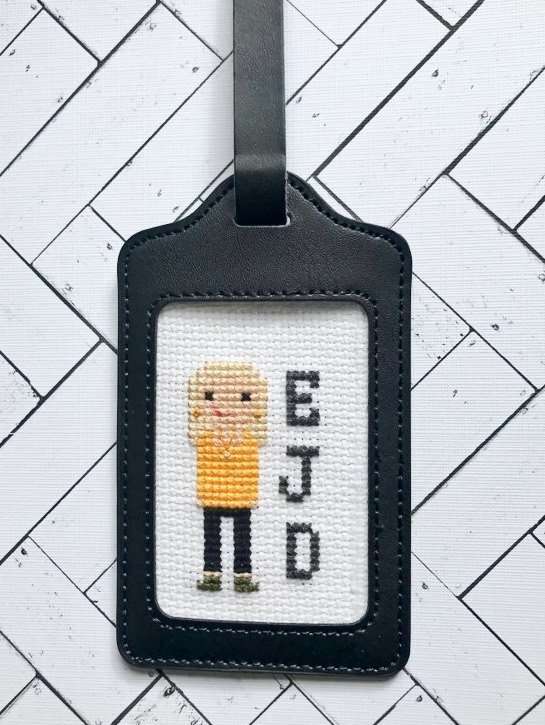
To get started, you will need to design your pattern. I make my design space 29 squares wide and 46 tall to fit the 7.5x5cm luggage tag. This is enough room for one stitch person and some text. I have used the font at the bottom of page 137 in the 2nd edition of the Stitch People pattern book for initials on all the luggage tags I have made.

Stitch your pattern as you normally would, ensuring you have plenty of room on all sides.
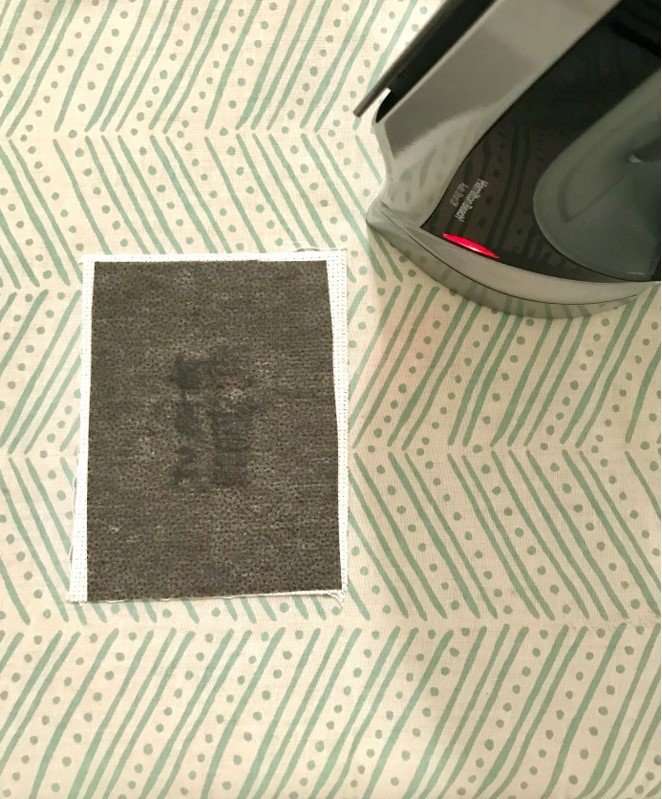
Finish, wash, iron, and back your portrait as you normally would. I like to use fusible interfacing on the back, as it makes it easier to mount on adhesive board and looks a little cleaner.
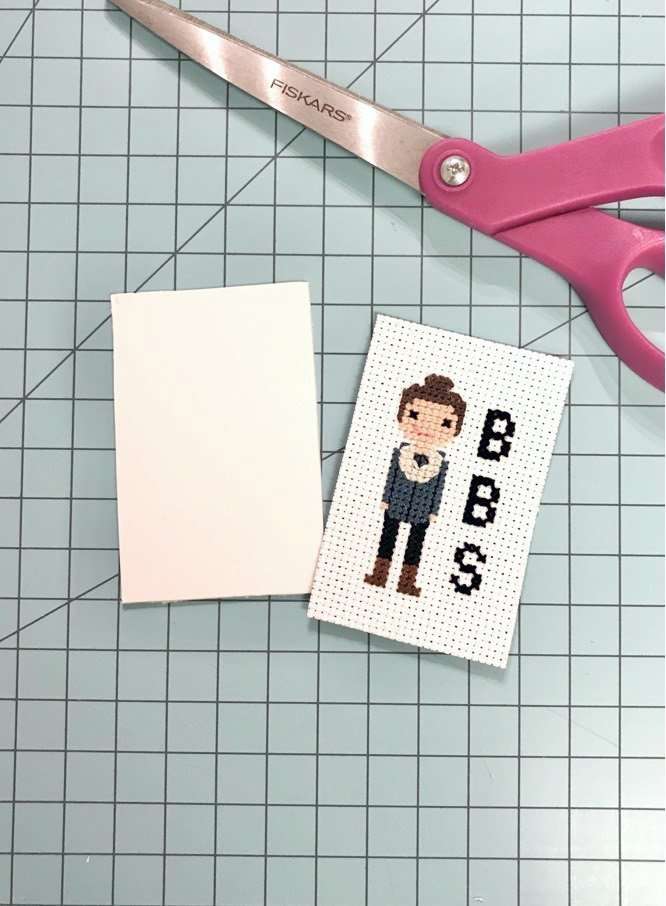
Cut your portrait and mounting board to size (29×46 squares), then adhere the portrait to the mounting board.
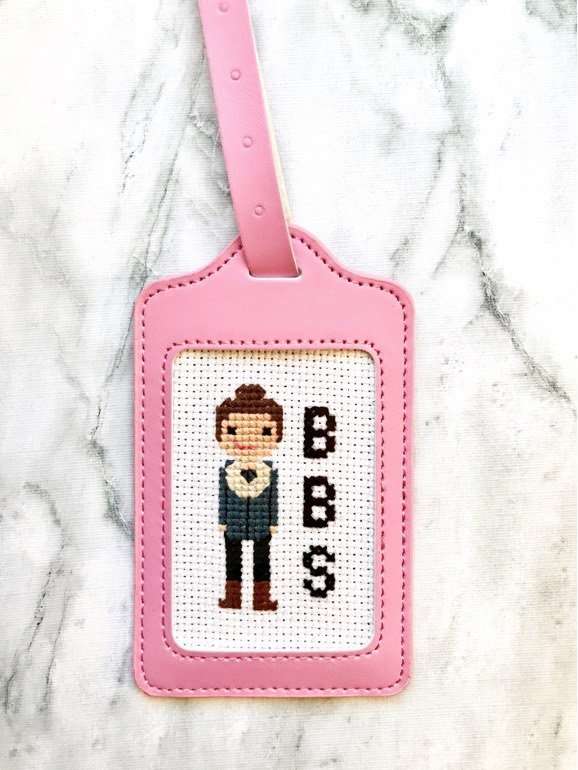
Once attached to the mounting board, I like to use fray check around the edges. This protects them when you put the portrait in or take it out of the luggage tag. Let dry completely. Once dry, carefully slide the portrait into the luggage tag, attach to your suitcase, and you now have a totally unique bag to travel with!
Thanks Theresa, for the amazing tutorial! You can see more of Theresa’s lovely work on Instagram and Facebook!
Will you be making your own Stitch People travel tag? If so, send us pictures of you with it!
As always if you have any questions or comments, let us know at info@stitchpeople.com
Thank you for sharing!
Awesome! But how does it work to travel with since no addy?
What exactly is purpose of the adhesive board??