We are re-doing our kitchen. It’s been stressful and fun. My sweet mother recently re-did her kitchen, and we snagged her old maple cabinets for our own house. She’s keeps a meticulously clean and neat home, so the cabinets are in tip-top shape. We’re going to paint them and they’re gonna look ah-mazing. It is a super win-win-win situation and saved us big bucks. Thanks, Mom!
In order to save more big bucks, I was inspired to make my own wall sconce to mount above our sink. I loved the idea of the light fixture emerging from the wall, as opposed to hanging from the ceiling, and I was falling in love with a number of sconces from Schoolhouse Electric. But even their relatively affordable prices were just a bit too much for me.
Now, the lighting I envisioned for above our kitchen island (not for above the kitchen sink) was making me drool in a big way. I chose Lindsey Adelman’s You-Make-It Chandelier. The chandelier is really, really cool. It’s modern, a little industrial, very sculptural, and branches like a tree so it appeals to my outdoor sensibilities, too. And, true to the title, I made it! The instructions are very clear, and you can easily buy all of the parts in a kit from GrandBrass.com. It’s super convenient and super easy, and Hint: if you add each item one-by-one to your cart, you’ll save about $20. Lindsey Adelman includes a part list in the PDF you can download from her website. Just copy/paste the part number into the search bar at GrandBrass.com and add update the quantity once the item is in your cart!
So. I moved forward with this chandelier. I followed the instructions. It was SO much fun, and the chandelier turned out great. I felt so handy. And I hope I made my Grandpa proud. He used to make light fixtures out of all sorts of things. And he built his own house. He was a super handy guy.
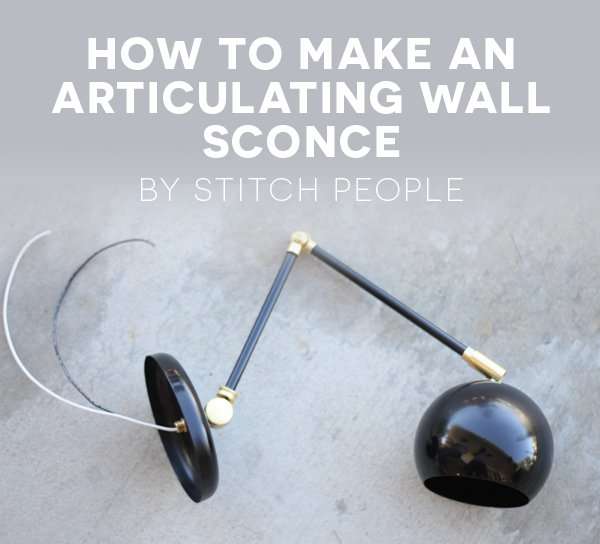
Having survived this process (quite successfully, I might add), I realized I could easily figure out how to create my own articulating wall sconce for the wall above my kitchen sink. Yay! I found a tutorial from Apartment Therapy that also helped. But now, I’ll provide you with my very own tutorial.
Materials:
A. Black & White Wire, 3 feet each (WI18AWMBL & WI18AWMW)
B. Brass Straight Nozzle (NO320)
C. Steel Washer (WA1-1/4X8)
D. Canopy w/ Mounting Hardware (CA04)
E. Threaded Steel Nipple (NI0-1/2X1/8)
F. Adjustable Brass Swivel (SV110)
G. 7 in. Brass Pipe, x2 (PIBR07-0X8)
H. Adjustable Brass Friction Swivel (SV140)
I. Brass 90 deg. Swivel (SV230)
J. Open Ball Shade (SHB120ST)
K. Brass Threaded Socket (SO9347CB)
L. E-26 Light Blub (BUEG16W40)
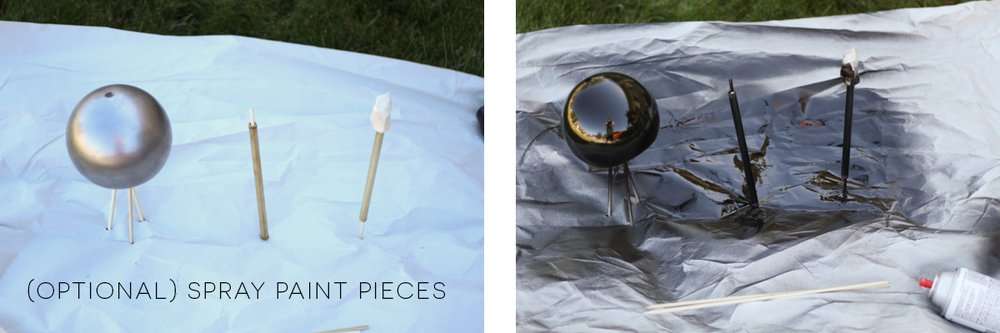
M. Spray Paint (Optional)
M1. Painter’s Tape / Masking Tape (Optional)
M2. Newspaper / old box / something you’ll be okay spray-painting on (Optional)
O. Copper Ground Wire (WIGS1/8-12) (If you choose to include this, refer to the DIY Lighting Project on Apartment Therapy for instructions.)
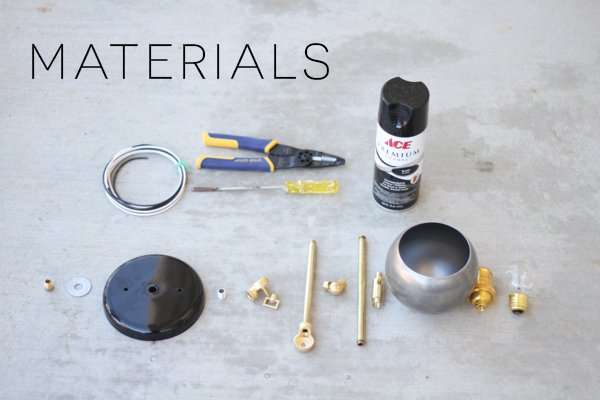
Other Tools
1. Wire Stripper (Recommended. This will make your life way easier.)
2. Flat-head Screwdriver (Mine’s super rusty, but it works.)
Before You Begin
If you plan on painting your light fixture, as I did, you may want to wash the parts you’re going to be painting to remove any grease, goop or other slime-y wimeys that may be a’lurking. Washing with a good dish soap will help the paint stick better.
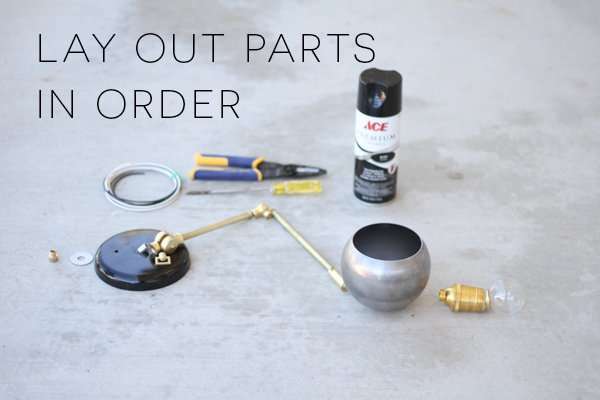
I also recommend laying everything out according to the diagram, below, so you can visualize how everything is going to fit together. I’m a visual learner so I find this step to be really helpful. It’s a bit like a test-run.
Building Your Sconce
- Begin to wire your socket. This is a great thing to do while you wait for your parts to dry, if you’ve painted them. Grab your white and black wire and strip the ends about a quarter inch. Give the exposed copper wires a little twist with your fingers so they stay together nicely. Separate the parts of the socket, and loosen the screws in the socket (don’t remove them.) Twist the black wire around the gold screw, and tighten the screw around the wire. Repeat this on the other screw with the white wire. Reassemble the socket, and slightly loosen the screw on the outside and end of the socket so you can completely fit the 90 degree swivel into the socket.
- Assemble your sconce! Pull the black & white wires through the shade, the 90-degree swivel, one brass arm, the adjustable brass friction swivel, the other brass arm, the adjustable brass swivel, the steel nipple, the canopy, the ground wire (if you’re including it), the washer, and the brass straight nozzle.
- That’s seriously it. You’re done building your sconce. So easy, right?
- TURN OFF ELECTRICAL BREAKERS & install your light fixture. This isn’t difficult to do, and isn’t scary at all once you’ve turned off your electrical breakers. If you don’t know how to do this, ask for help from someone who does or find instructions on Google. This seems to be a pretty clear, comprehensive article about it. You may want to have someone help you, as the weight of this sconce is a little wobbly and it would be helpful to have someone hold it while you get everything wired.
- Attach the canopy securely to the wall using the cross bar that comes with the canopy kit. Make sure it’s secure. Take this opportunity to adjust the arms/swivels to where you’d like them.
- Screw in the lightbulb
- Turn your breakers back on, Turn the light on, and admire your work!
Good luck! If you make this sconce, please submit your photos!
Happy sconce-ing!
