A tutorial by Hillary Nestrick
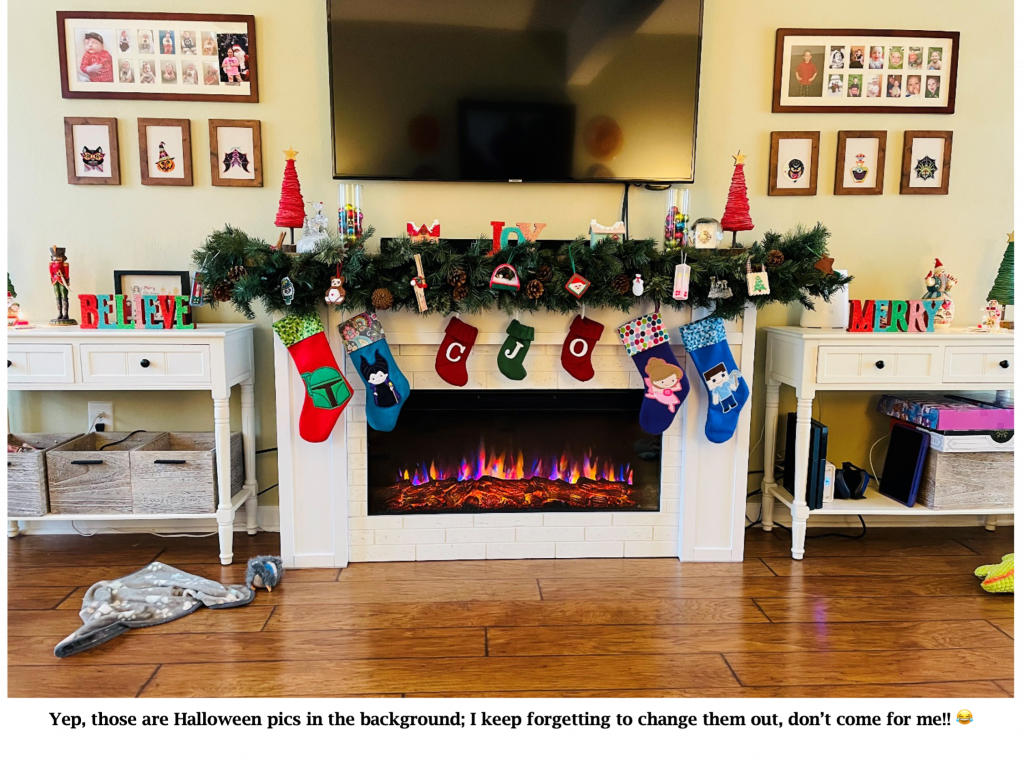
Happy Holidays Y’all!! This year’s holiday season is in full swing in my house! I’m super-duper excited because this is the first year, I have a fireplace mantle I could decorate!
As you can see, my style is Merry & Bright! I love ALL the bright Christmas colors and creating the feeling of walking into a gingerbread house, and, of course, all the things GLITTER too, because, you can’t be bright without glitter, right?
Having to decorate a 60” mantle made it glaringly obvious that I needed to add a few pieces to my décor collection! While trying to figure out what to add where, it popped into my head that I had an extra picture holding snow-globe in my supplies from the one year I did a craft show and voila, a December blog post was born!!
Step 1: Stitching Supplies
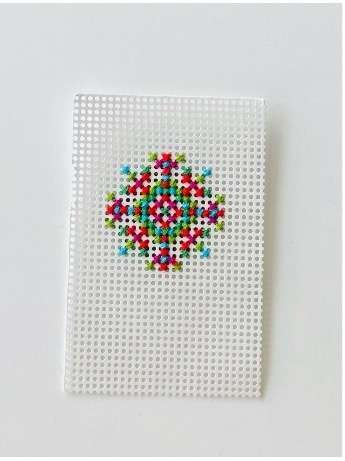
A festive cross-stitch of your choosing
This snowflake is adapted from one of the many patterns in Stitch People Ornaments, a brand new seasonal Stitch People offering! Stitch People Ornaments gives you lots of options for a project just like this. Simply choose your desired pattern and size and stitch away! This is stitched on 14 count perforated paper (fabric can also be used). The final size was 2×3 inches, so the square count for cutting the paper was 27 stitches wide by 42 inches high.
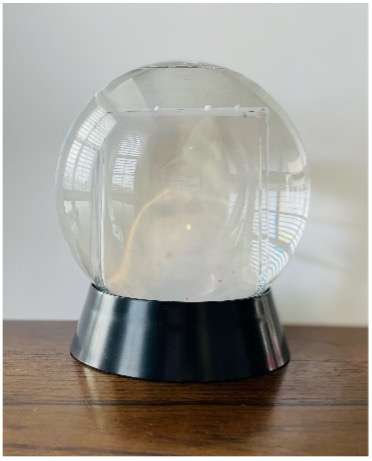
A customizable snow globe
The things you can customize these days! You can find customizable snow globes at just about any big box craft store. If you’re having a hard time finding one there, you can find plenty of other options available online. This is my Neil Enterprises Mini Photo Snow Globe.
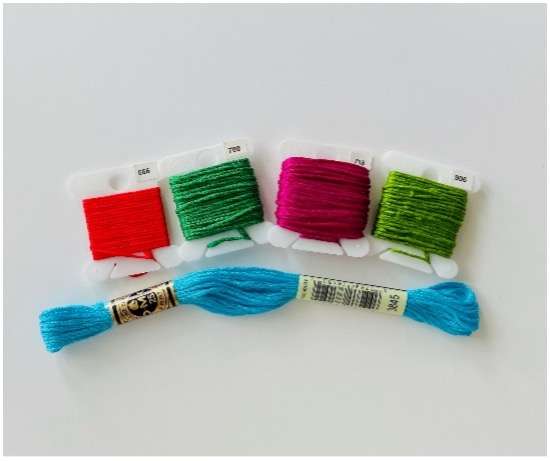
A selection of colorful flosses
I chose to stay with my Merry & Bright color scheme and went with DMC colors 666 (bright red), 700 (bright green), 718 (plum), 906 (medium parrot green) and 3845 (medium bright turquoise).
Step 2: Finish the snow globe display
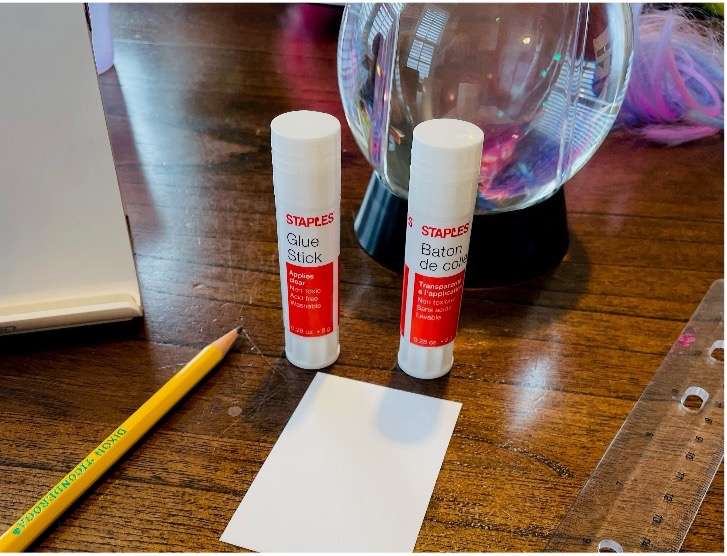
As I’ve said previously, finishing a stitch for display is most certainly NOT my strong suit (which is why I usually use frames) but luckily, this process was wonderfully quick and easy! To finish the stitch to for the snow-globe, you just need a few super simple things:
- Glue stick
- Cardstock the same color as your perforated paper
- Ruler
- Pencil
- scissors
First, I measured the perforated paper stitch with my ruler and using those measurements (2”x3”), drew my cut line (I’m hopelessly incapable of keeping scissors straight!) on the card stock with the pencil.
Second, I slathered that 2×3 cardstock with a good amount of glue stick! Don’t be sparing, the card stock needs a lot of glue to stick to the floss!
Lastly, I press the sticky card stock to the back of the stitch and smooth my fingers over it to make sure it fully adheres!
Step 3: Add to the snow globe!
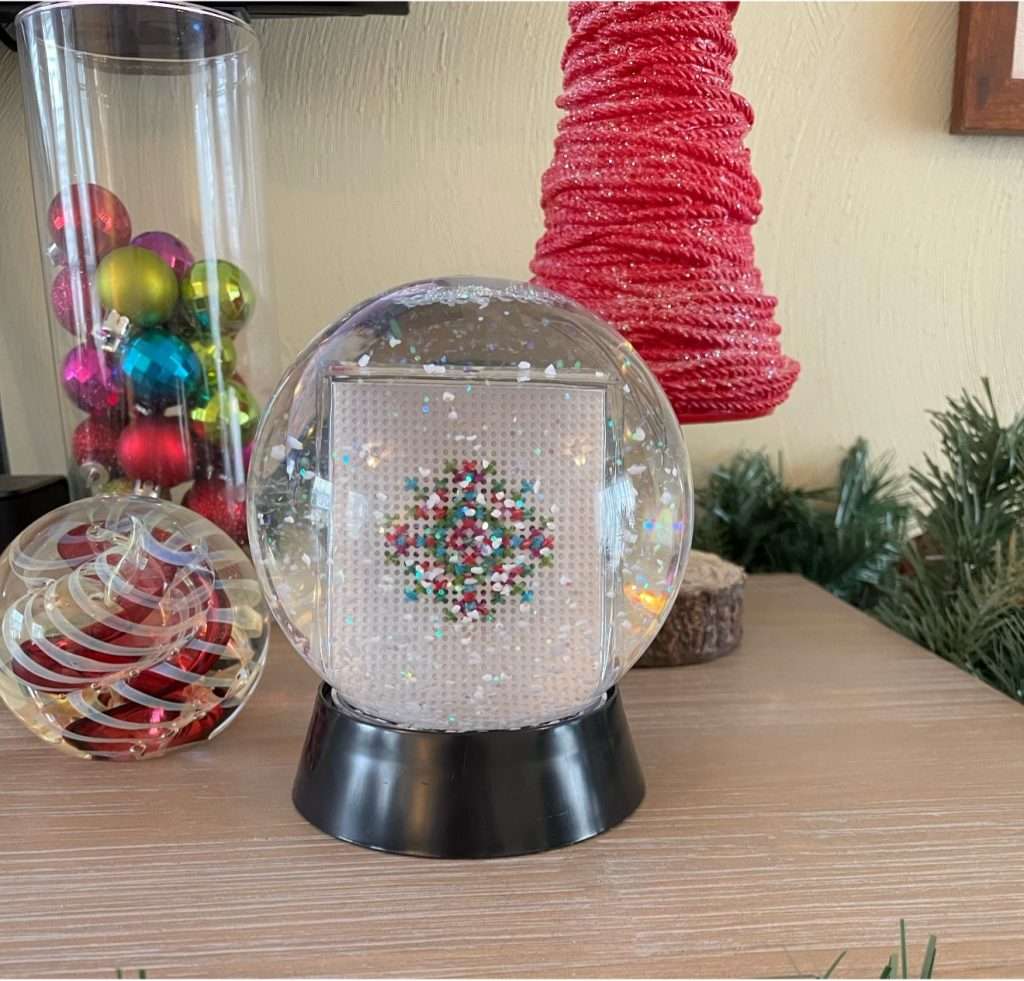
Now, my favorite part! Put the finished stitch in the picture compartment of the snow-globe, find the spot you want to put it in, shake it up and pat yourself on the back for your creative genius rocking it out again!!
Did you try this project? Comment below and let us know how it went!